
Last updated November 15, 2026
 Sweep & inspection
 Caps & crowns
 Flue relining
 Masonry repair
 Gas fireplace service
Level 1 sweep and inspection to the NFPA 211 annual standard - flue, crown, cap, and flashing checked and photographed
Chimney sweep logs do not sweep chimneys. They loosen some creosote - which then falls where a brush and vacuum still have to collect it.
Chimney Sweep Maintenance Checklist for Tyler Homeowners
Most homeowners who follow a generic chimney checklist mark the wrong items green. They check the box that says “no visible cracks,” glance up at a cap that looks fine from the driveway, and cross the whole job off for another year. The trouble is that a checklist written for a cold-climate house doesn’t match what happens to a chimney in East Texas, where the real wear comes from summer heat cycling, shifting clay soil, and humid air that works on metal parts year round. This guide is the checklist we’d hand a Tyler homeowner if we were standing in the yard with them. It covers what to inspect on the outside, what you can safely check yourself on the inside, how often each component actually needs attention, and the handful of red-line findings that mean stop using the fireplace now, not next month.
Quick Answer
A working chimney maintenance checklist for Tyler should cover the cap, crown, flashing, liner, damper, firebox, and flue every year, with a professional sweep and camera inspection done before each heating season. Most Tyler homes can go a full year between sweeps if they burn regularly, and the exterior items matter more here than in colder climates because heat cycling and Gulf humidity do more damage to mortar and metal than freezing does. The single most useful thing you can do is document the chimney’s condition each year so a technician can spot change instead of guessing at history.
Styles & brands we work with
- Sweep & inspection
- Caps & crowns
- Flue relining
- Masonry repair
- Gas fireplace service
Table of Contents
- Why a Tyler Chimney Checklist Is Different
- Exterior Inspection: Crown, Flashing, and Cap
- Interior Checks: What You Can Do and What You Can’t
- Service Intervals by Component
- How to Document Your Chimney Year Over Year
- Red-Line Items: Stop Using the Fireplace
- A Seasonal Calendar for Tyler Homeowners
- Common Mistakes to Avoid
Why a Tyler Chimney Checklist Is Different
The chimney problems we see most often in Tyler aren’t the ones northern checklists emphasize. Up north, the enemy is freezing and thawing water inside masonry. Here, the damage comes from a different pattern. Summer after summer, the crown and upper masonry expand in afternoon heat and contract overnight, and that slow flexing opens hairline cracks that let water in. Once water is in, our humid air keeps it there longer than a dry climate would, and the mortar starts to go soft from the inside. Meanwhile, clay soil movement under older foundations can shift the whole structure slightly, and that shift shows up as gaps at the liner joints and stress at the flashing line.
That’s why the checklist you follow in Tyler should weight exterior inspection heavily. A crown that looks “fine” in April after a mild spring can be cracked wide by October after a long summer. Composition shingle roofs, which cover most of the housing stock around Smith County, add their own factor: flashing that was sealed against a shingle roof behaves differently as the shingles age and the sealant dries out, and a leak at the flashing line often shows up inside the house as a ceiling stain far from the chimney itself.
None of this means a Tyler chimney is doomed. It means the list you use should match the failure modes you actually have. If you want the short version of how we approach a Chimney Sweep Tyler visit, it starts with the exterior, moves to the flue, and ends with a written record of what we found.
Exterior Inspection: Crown, Flashing, and Cap
Start on the ground and work your way up with binoculars before you ever get on a roof. Ninety percent of the exterior items on this list can be assessed from the yard with a decent pair of binoculars and a phone camera with zoom, which is the safe way to do it. Roof walk-arounds are for trained technicians with fall protection, not for a Saturday project.
The crown
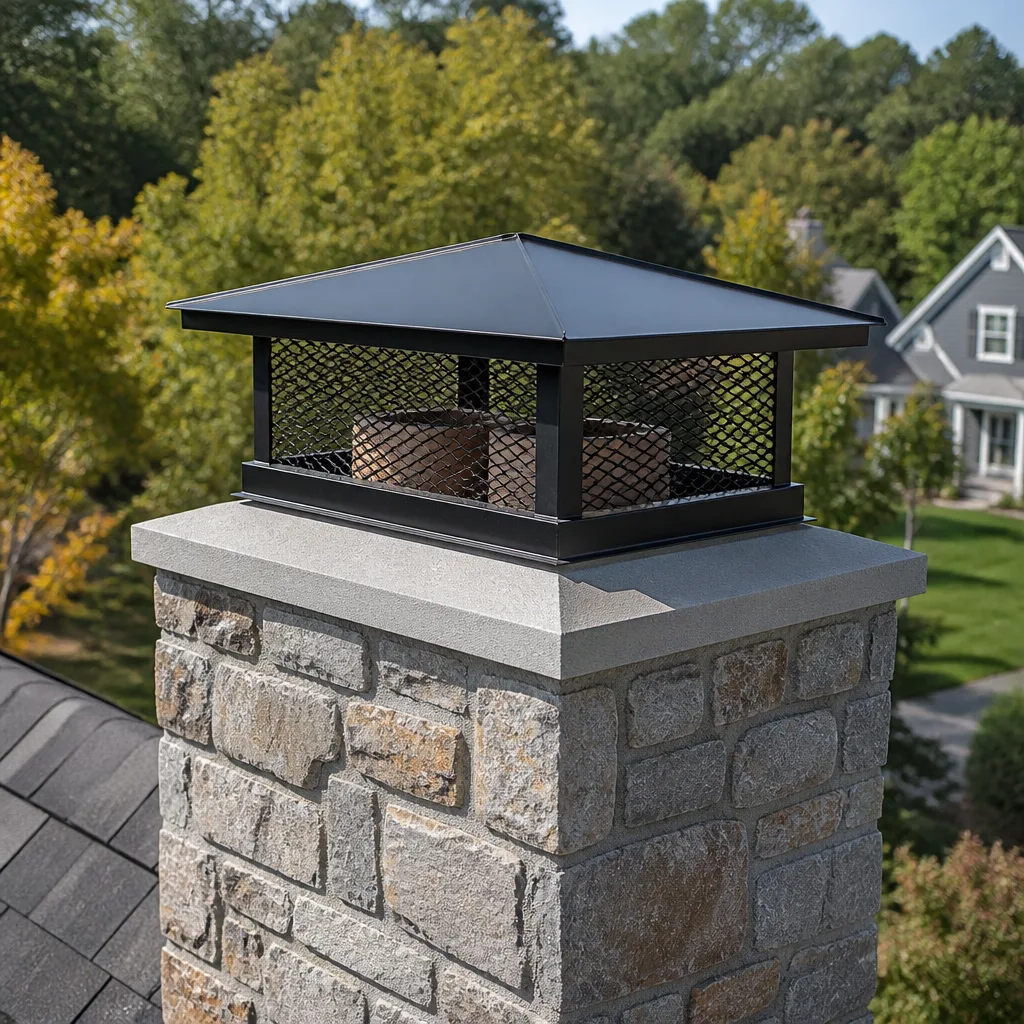
The crown is the sloped concrete or mortar cap on top of the chimney that sheds water away from the flue. It’s the most neglected component on a Tyler chimney and the one most likely to fail first. Look for:
- Hairline cracks running from the flue out to the edge – these are thermal cycling cracks and they widen over time.
- Separation where the crown meets the chimney’s brick or stone – a visible gap means water is getting behind it.
- Crumbling or flaking at the edges – the surface is failing and the crown needs resurfacing or replacement.
- A crown that slopes toward the flue instead of away from it – this traps water at the worst possible spot.
A cracked crown is not a cosmetic problem. It’s the entry point for the water that softens mortar and rusts dampers. Catching it early means a repair; letting it go means masonry work.
Flashing
Flashing is the metal where the chimney meets the roof. On the composition shingle roofs common across Tyler, flashing is usually step flashing woven into the shingles plus a counter-flashing set into the chimney’s mortar joint. Check for lifted or bent metal, dried or missing sealant, rust, and any gap between the flashing and the chimney. If you see a water stain on the ceiling near the chimney after a hard rain, the flashing line is a prime suspect, and so is the crown.
The cap and spark arrestor
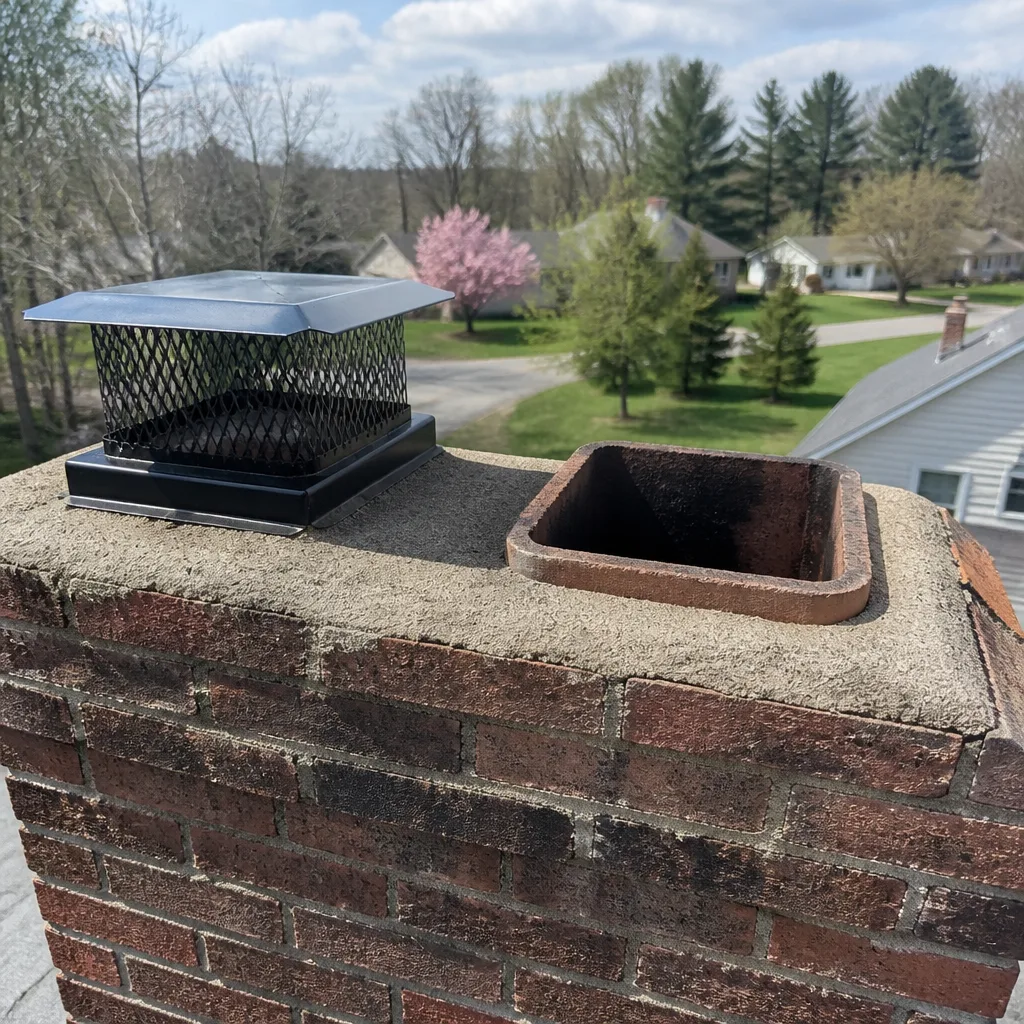
The cap keeps rain, birds, and squirrels out of the flue. Here, humidity is the enemy: a steel cap in East Texas can rust through faster than one in a dry climate, and rusted mesh clogs with debris and reduces draft. Look for rust, sagging, missing mesh, and a cap that’s come loose from its mounting. When a cap needs replacing, purpose-built components from a chimney manufacturer last longer than a hardware-store substitute bolted on as an afterthought. We source caps and venting parts from brands like Copperfield and Gelco for exactly that reason.
Interior Checks: What You Can Do and What You Can’t
There’s a real line between the interior checks a homeowner can do safely and the ones that require a camera, a mirror, and training. Knowing which is which keeps you safe and keeps you from a false sense of security.
What you can check yourself
- The damper. Open and close it fully. It should move freely and seat flat. A damper that sticks, won’t close, or has rust holes means heat is escaping up the flue when the fireplace is idle, and it may need repair or replacement.
- The firebox. Look at the brick and mortar inside the firebox for cracks, loose bricks, or crumbling joints. Hairline cracks in the firebrick are common and often harmless; open cracks or missing mortar between firebrick panels are not.
- Refractory panels. If your firebox is lined with refractory panels rather than brick, check for cracks wider than a hairline, pieces that have separated, or panels that have shifted out of place. Any of those means stop using it until a technician looks.
- Visible creosote at the top of the firebox. Shine a flashlight up past the damper. If you can see a thick, glazed or shiny layer on the flue walls, that’s a sweep-now signal.
- The smoke test. Light a small fire and watch the smoke. If it rolls back into the room instead of going up, draft is compromised and something is blocking the flue or the cap.
What requires a professional
- The upper flue. Above the first few feet, you can’t see the flue walls without a camera. Creosote glaze, cracked tiles, and gaps between liner sections only show up on camera.
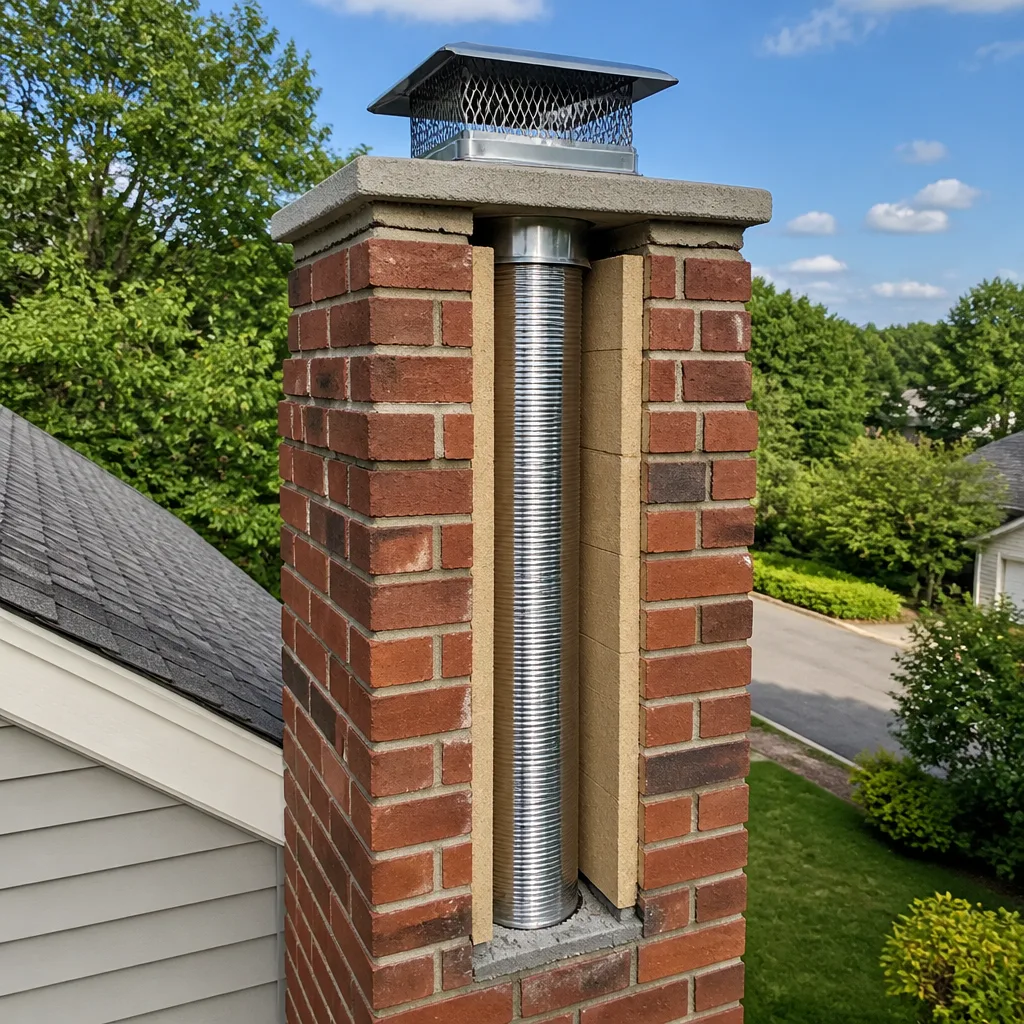
- Liner integrity. The liner is what keeps combustion gases inside the chimney. A gap or crack in a clay tile liner, or a failed joint in a stainless liner, is invisible from the firebox and is exactly what a camera inspection finds.
- The smoke chamber. This is the sloped area above the damper and below the flue. It’s notoriously hard to see without a mirror and light, and it’s where creosote accumulates and where a failed parging job lets gases through masonry.
- The attic and roof deck around the chimney. Checking for water intrusion at the flashing from inside the attic is a job for someone who knows what they’re looking at.
Our technicians have up to 11 years of experience, and the camera inspection is the part of the job where that experience pays off most. A camera shows what a flashlight can’t, and it lets us show you the picture rather than describe a problem you have no way to verify.
Service Intervals by Component
Not every part of a chimney needs attention on the same schedule, and treating them the same is how homeowners end up either overpaying or under-maintaining. Here’s how we think about intervals for a typical Tyler home with a wood-burning fireplace used regularly through the cooler months.
- Flue sweep: once a year if you burn regularly, which for most Tyler households means before the heating season starts. If you burn only occasionally, a professional inspection every year and a sweep when the inspection shows buildup is the practical approach. The industry rule of thumb is to sweep when creosote reaches about a quarter inch, but the honest answer is that it depends on how hot and how often you burn.
- Camera inspection: once a year, bundled with the sweep. This is the check that catches liner gaps and smoke chamber issues before they become expensive.
- Crown: inspect every year, plan on resurfacing or repair every several years depending on how the summer heat cycling has treated it. A crown in good repair can last much longer.
- Cap and spark arrestor: inspect every year, replace when rust or damage compromises it. In our humidity, that’s often sooner than a homeowner expects.
- Damper: check every year, replace when it no longer seals or has rusted through.
- Firebox refractory panels: inspect every year, replace individual panels when they crack or separate rather than waiting for the whole box to fail.
- Liner: inspect every year on camera, repair or reline when gaps, cracks, or deterioration are found. A resurfacing system like HeatShield can sometimes seal and restore a liner that’s still structurally sound, which is often a smaller job than a full reline.
The reason intervals matter is that each component fails on its own clock. A cap that’s three years old can be fine while a crown that’s the same age is cracked, and vice versa. A checklist that treats “the chimney” as one item hides that.
How to Document Your Chimney Year Over Year
This is the part of the checklist almost everyone skips, and it’s the part that changes what a technician can tell you. A chimney’s condition is only meaningful as a trend. A hairline crack that’s been the same size for five years is a watch item. The same crack, doubled in width since last spring, is a repair item. Without a record, your technician is guessing at history, and so are you.
A simple documentation system
- Take dated photos every year from the same two or three spots. One from the yard showing the crown and cap, one showing the flashing line, and one of the firebox interior. Same angle, same zoom, so the photos are comparable.
- Keep the technician’s written report with the photos. A sweep report that notes crown condition, flashing condition, cap condition, creosote level, liner condition, damper operation, and firebox condition gives you a baseline year over year.
- Note any changes you made. New cap, crown resurfacing, damper replacement, liner work – all of it. A record of what was done and when is what lets a technician tell a new problem from an old one.
- Note your burning habits. How much wood, what kind, how often. This helps explain changes in creosote buildup and draft.
When we do an inspection, we photograph what we find and show it to you. That’s not a formality. It’s the difference between a technician telling you the liner needs work and you having to take that on faith, and you seeing the gap on camera and understanding why it matters. If you’ve kept your own yearly photos, the comparison is even more useful, because we can show change rather than just condition.
If you ever sell the house, that documentation is also a real asset. A buyer’s inspector who sees a chimney with a yearly paper trail treats it very differently from one with no record at all.
Red-Line Items: Stop Using the Fireplace
Some findings mean stop now. Not schedule something for later, not “keep an eye on it.” These are the items where the risk of continuing to burn is real and immediate, and the fireplace stays cold until a technician has been out and cleared it.
- Glazed or shiny creosote in the flue. This is the highest-risk form of creosote, and it’s what chimney fires burn. If you can see a shiny, tar-like layer at the top of the firebox, stop burning until it’s swept.
- A blocked or badly clogged flue. If smoke rolls back into the room on a normal fire, or the draft has clearly changed, stop. A blocked flue sends carbon monoxide into the house instead of up the chimney.
- A cracked or separated liner. Any gap in the liner means combustion gases can reach the masonry or the house structure. Stop burning until it’s repaired or relined.
- Open cracks or missing mortar in the firebox or refractory panels. These let heat and gases past the firebox, and they can lead to a fire behind the firebox wall. Stop burning.
- A visibly damaged or detached crown combined with any interior water staining. Water has likely been getting in for a while, and the masonry or liner may already be affected. Stop and get it inspected.
- Any smell of smoke in the house when the fireplace is not in use, or a carbon monoxide alarm going off. Stop, ventilate, and call. This is a gas-path problem, not a maintenance item.
Carbon monoxide is the reason several of these items sit on the red-line list rather than the “watch” list. A wood-burning fireplace doesn’t produce CO the way a gas appliance does when it’s drafting correctly, but a blocked or compromised flue means the byproducts of combustion have a path into the living space. That’s the scenario the red-line list exists to prevent. A functioning carbon monoxide alarm on every level of the house is a reasonable companion to any chimney checklist, and if you don’t have one, that’s a good first step.
None of this is a scare tactic. Most of these problems are fixable, and most are caught early precisely because a homeowner stopped burning when the checklist said to. The point of a red-line list is that it takes the judgment call out of a moment when you’d rather not be making one.
A Seasonal Calendar for Tyler Homeowners
The right time to do each task depends on the local climate, and in Tyler that means using the mild months to get ahead of the heating season. Here’s how a year of chimney maintenance actually lays out for most homeowners here.
Spring (after the last fire of the season)
- Get the annual sweep and camera inspection done once you’ve stopped burning for the year. Sweeping after the season clears the creosote that accumulated over the winter, so it doesn’t sit in the flue through the humid summer.
- Note anything the technician flagged as a watch item, and get exterior repairs scheduled before summer heat cycling starts widening cracks.
Summer (the exterior work window)
- Crown repair or resurfacing is best done in dry weather so the repair cures properly.
- Cap replacement and flashing work are also good summer jobs, and getting ahead of them before fall rains means you’re not chasing a leak in the middle of the first storm.
- If a liner repair or reline is needed, summer is the time to do it. Waiting until October to schedule liner work is how people end up with a fireplace they can’t use when the first cold night hits.
Fall (before the first fire)
- Do a self-check of the interior items: damper operation, firebox, refractory panels, visible creosote.
- Confirm the cap and spark arrestor are clear. A summer’s worth of birds and debris can clog a cap.
- If you didn’t get a sweep in the spring, get one before the first fire. The fall rush is real, and it’s easier to book ahead.
Winter (the burning season)
- Watch for changes in draft, smoke rollout, and any new smell. If something changes, stop burning and get it checked.
- Keep the ash level in the firebox reasonable, and don’t overload the fire. Hot, fast fires produce less creosote than smoldering ones.
This calendar is built around the fact that Tyler’s winters are mild enough that the seasonal window is wide. That’s an advantage if you use it. The homeowner who books a sweep and inspection in spring has a whole summer to fix whatever the inspection found, and never has to choose between a cold house and a rushed repair.
Common Mistakes to Avoid
- Treating the checklist as “no visible problems” instead of “inspectable.” A chimney that looks fine from the driveway has only passed the easiest items on the list. The flue, smoke chamber, and liner require a camera, and skipping that step is the most common way a real problem goes unnoticed for years in Tyler.
- Assuming the crown is fine because it’s not crumbling. Thermal cracking on a Tyler crown often shows as a hairline you can barely see from the ground. It still lets water in. Binoculars and a zoom photo, taken every year, will show you change that the naked eye misses.
- Waiting until the first cold snap to book a sweep. Fall is the busiest time, and a full schedule means a wait. A spring or summer sweep gives you a whole season to fix what the inspection found, without a cold house in the meantime.
- Replacing the cap with a hardware-store part. A generic cap on a chimney is a temporary fix at best. Purpose-built caps and flashing components from a chimney manufacturer are made for the job, and in East Texas humidity, the difference in lifespan is real.
- Ignoring the liner because it’s “not visible.” The liner is the most important safety component on the chimney, and it’s the one you can’t see without a camera. A yearly camera inspection is not an upsell, it’s the point.
- Skipping the yearly photo record. Without photos from the same spot every year, neither you nor your technician can tell whether a crack is stable or growing. The photo record is what turns a condition into a trend.
- Burning wet or green wood to save money. Wet wood burns cooler and slower, which produces more creosote, which is exactly the buildup the whole checklist is trying to prevent. Seasoned firewood is a maintenance decision, not just a comfort one.
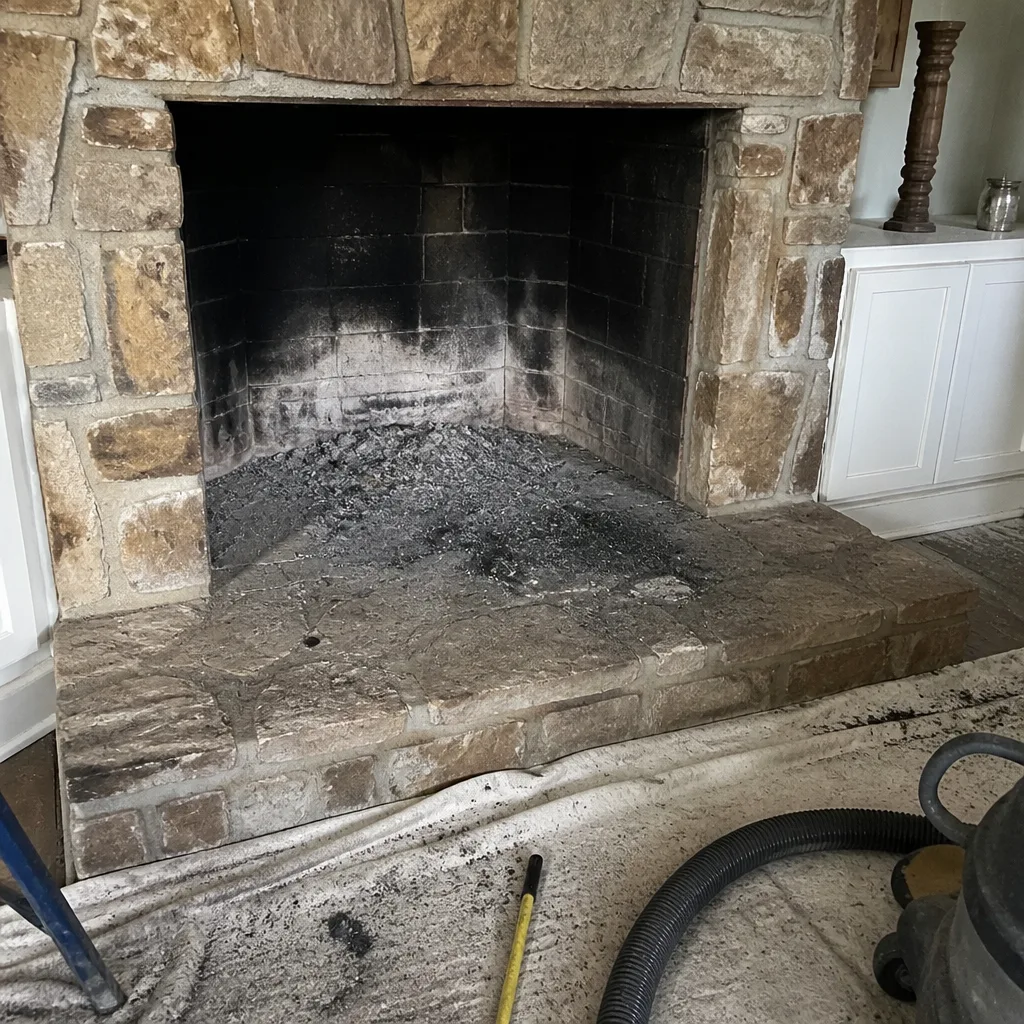
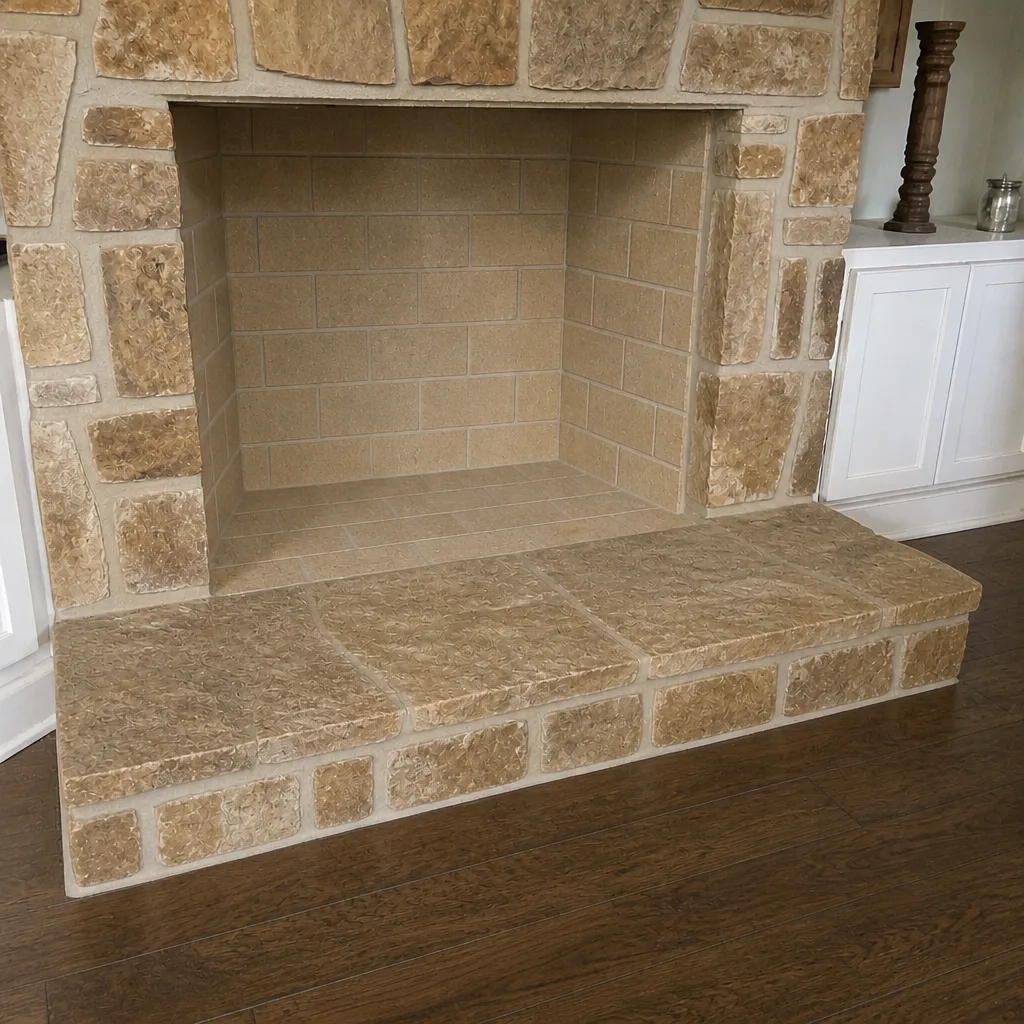
See the difference
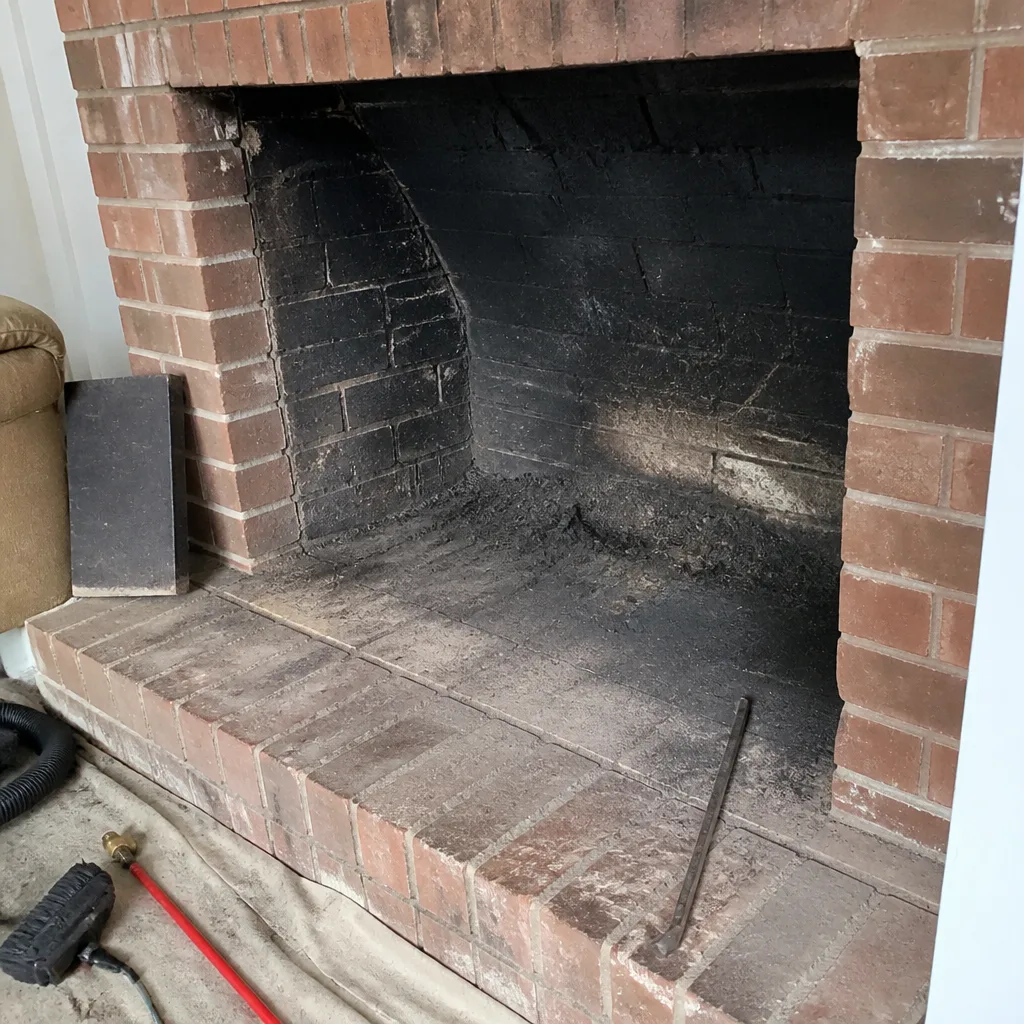 Before
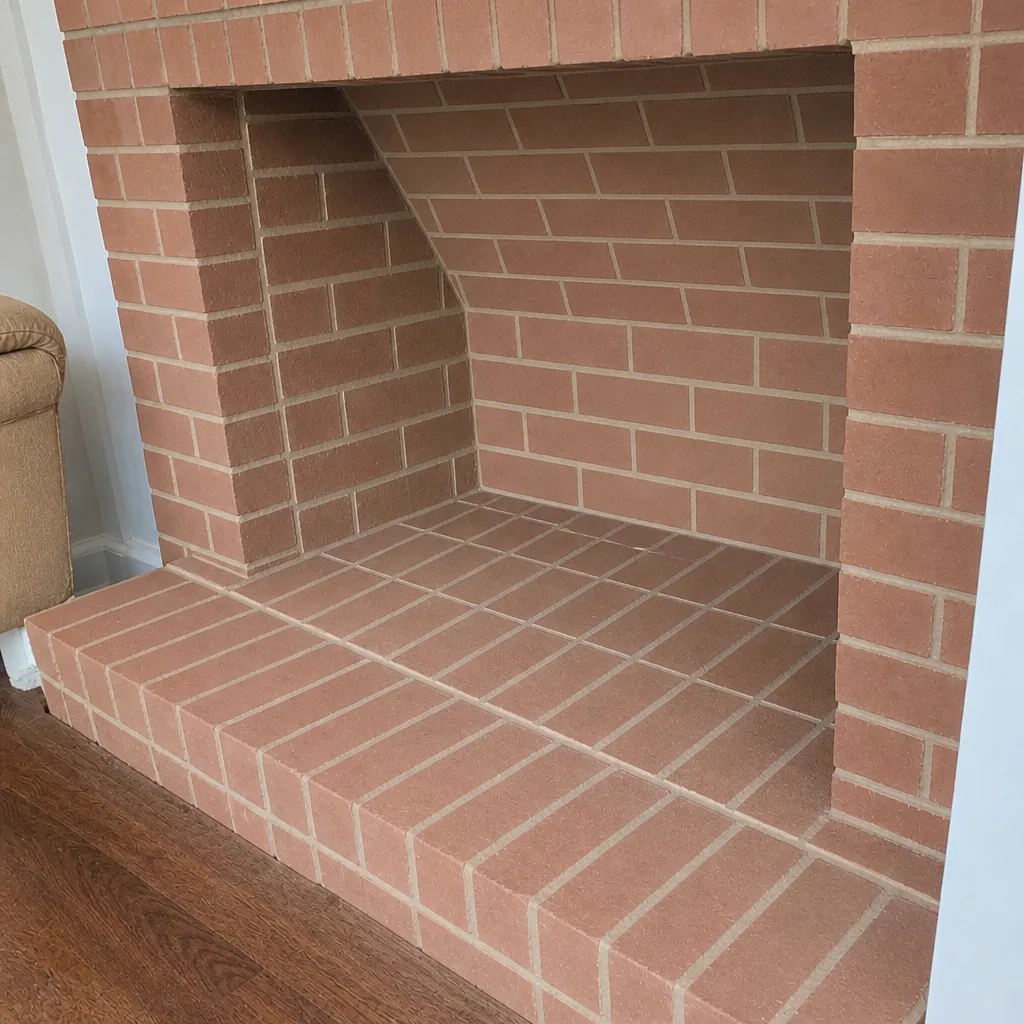 After
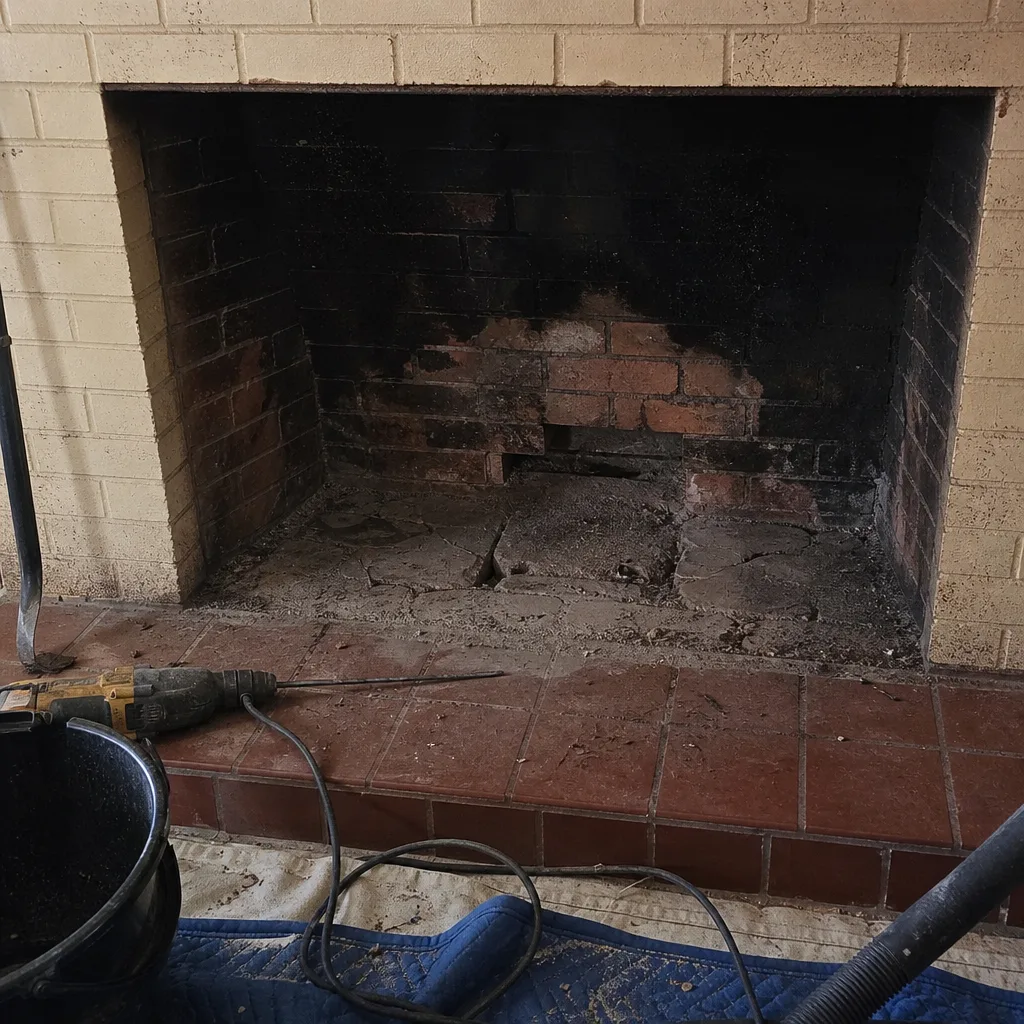 Before
 After
 Before
 After
When to Call a Professional
Some of this checklist is genuinely yours to do. The rest of it needs a camera, a mirror, and someone who looks at chimneys every day. Call a professional if any of the following is true: you haven’t had a sweep or inspection in the past year; you see a shiny, glazed layer at the top of the firebox; smoke rolls into the room instead of going up; the damper sticks, won’t close, or has rust holes; you see open cracks or missing mortar in the firebox or refractory panels; the crown has visible cracks or has separated from the chimney; the cap is rusted, loose, or missing mesh; you have any water staining on the ceiling near the chimney; or a carbon monoxide alarm has gone off. If you’re in doubt about any item, that’s a reason to call, not a reason to wait. Chimney Sweep Tyler offers free estimates in Tyler – call (866) 389-3453. We’ll tell you what we found and what it means, and we’ll show you the camera evidence rather than ask you to take our word for it.
Frequently Asked Questions
Most Tyler homes with a regularly used wood-burning fireplace should be swept once a year, ideally before the heating season. If you burn only occasionally, an annual inspection with a sweep when buildup warrants it is the practical schedule. The right interval depends on how much and how hot you burn, which is why the inspection matters as much as the sweep.
A complete checklist covers the crown, flashing, cap and spark arrestor, liner, damper, firebox, and refractory panels, plus a yearly camera inspection of the flue and smoke chamber. In Tyler, the exterior items – crown and flashing especially – matter more than in colder climates because heat cycling and humidity do more damage than freezing does. A sweep alone checks the flue but misses most of the components that fail.
You can safely check the damper, the firebox, the refractory panels, and any creosote visible at the top of the firebox. You can’t safely inspect the upper flue, the liner, or the smoke chamber without a camera. Roof work on the crown and cap should be left to a technician with fall protection. The interior items above the firebox are the ones that need professional eyes.
A cracked crown means water can get into the masonry behind it, which softens mortar and can rust the damper and damage the liner over time. In Tyler, thermal cycling from hot summers is the usual cause. A cracked crown should be repaired or resurfaced, and it’s a much smaller job than the masonry damage it can lead to if ignored.
Stop using the fireplace if you see glazed or shiny creosote, if smoke rolls back into the room, if the liner is cracked or separated, if the firebox or refractory panels have open cracks or missing mortar, or if a carbon monoxide alarm goes off. These are red-line items, not watch items. Call a professional before lighting another fire.
Yes, a yearly camera inspection is the most reliable way to catch liner gaps, smoke chamber problems, and creosote glaze that you can’t see from the firebox. It also gives you the year-over-year record that lets a technician tell whether a condition is stable or getting worse. The camera is what turns an inspection from a visual guess into evidence.
The Bottom Line
A chimney maintenance checklist is only as good as the failure modes it’s built around, and in Tyler those are crown cracking from summer heat cycling, liner gaps from soil movement and age, and cap corrosion from humidity. Check the exterior every year with binoculars and photos. Do the interior self-checks you can do safely, and get a camera inspection for the rest. Document the condition every year so change is visible. Treat the red-line items as stop-now, not schedule-later. And get the sweep and inspection done before the heating season so you have time to fix what’s found. That’s the whole checklist, and it’s the one that actually matches a Tyler chimney.
If you want a professional sweep, inspection, and repair all handled by the same team – with the right materials for the job and a plain-language report you can see for yourself – call Chimney Sweep Tyler at (866) 389-3453. We answer 24/7. Fast dispatch from 7am to 7pm, Sunday through Friday. Estimates are free, and we’ll tell you when work can safely wait.
For the full range of chimney sweep and chimney repair services we offer around Tyler, start with a free estimate.
Written by the team at Chimney Sweep Tyler.