
Last updated November 15, 2026
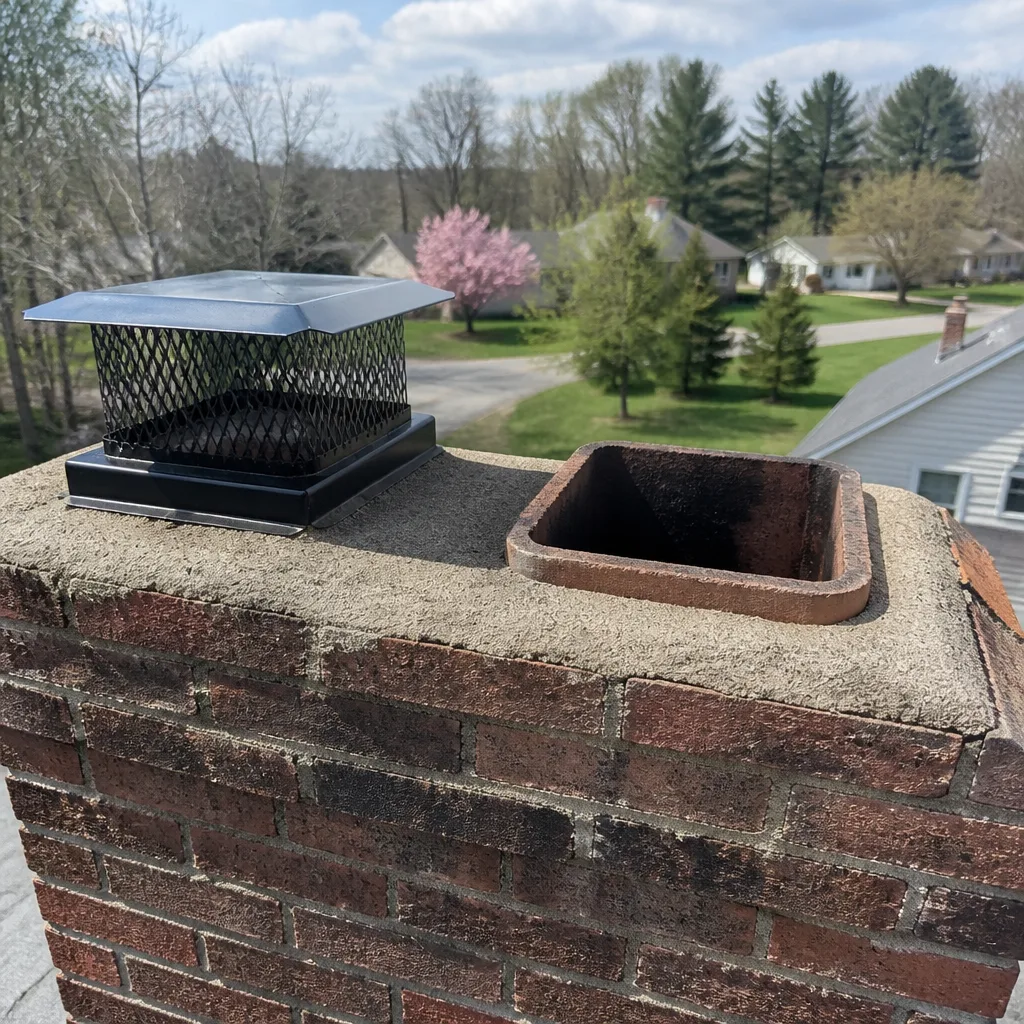 Sweep & inspection
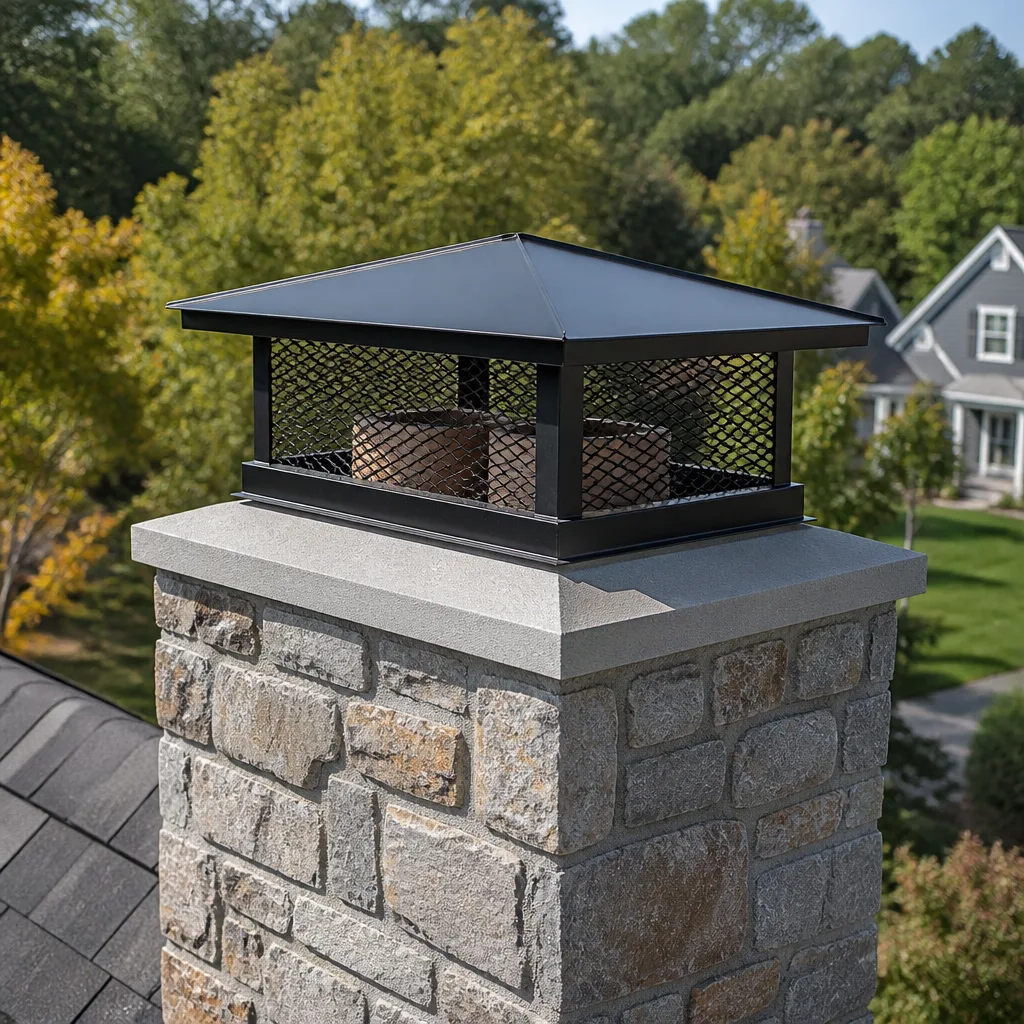 Caps & crowns
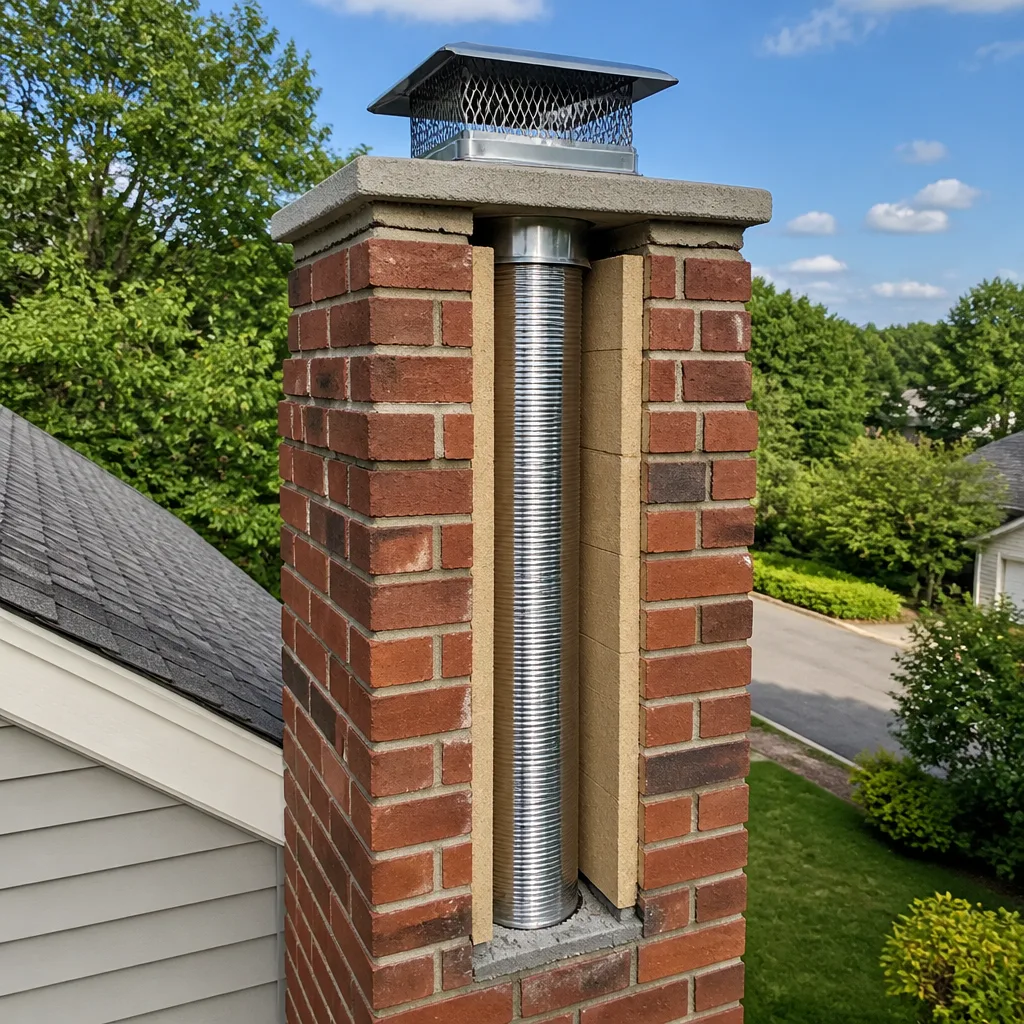 Flue relining
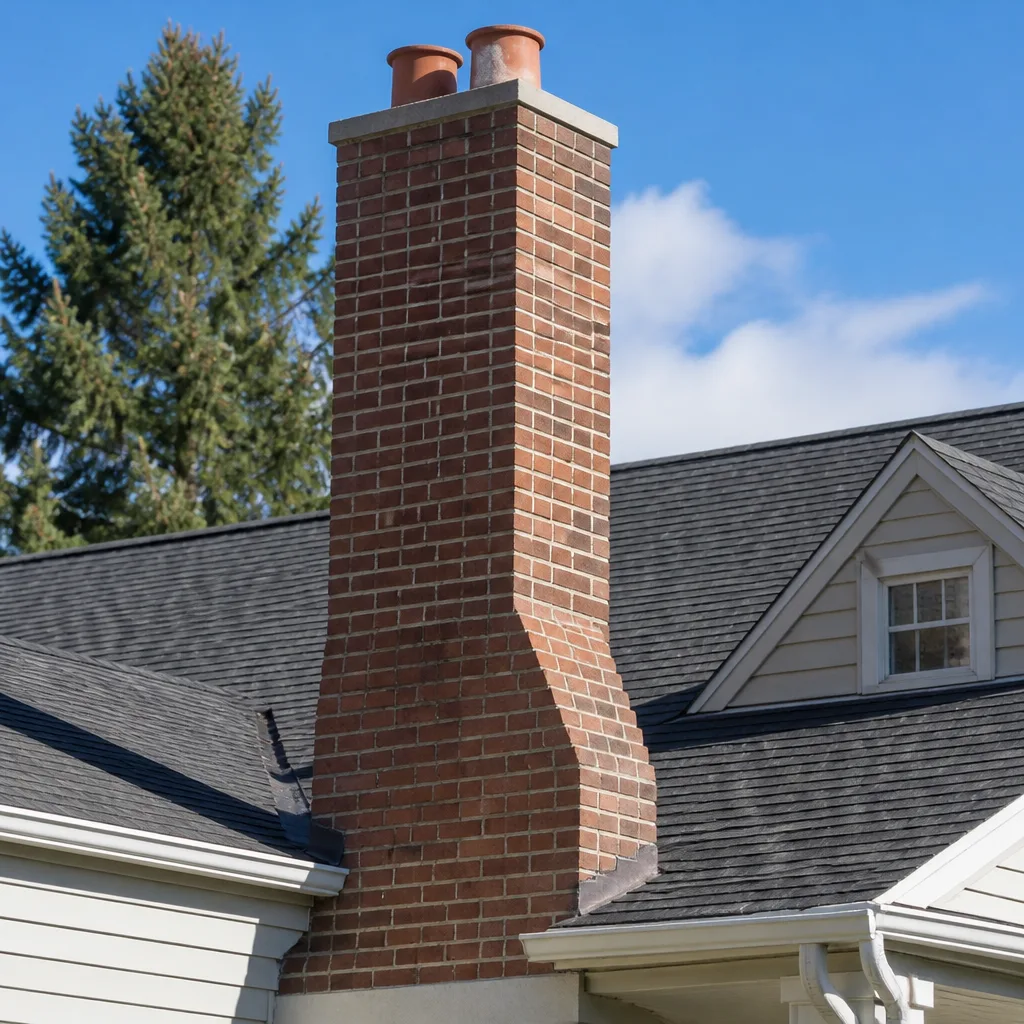 Masonry repair
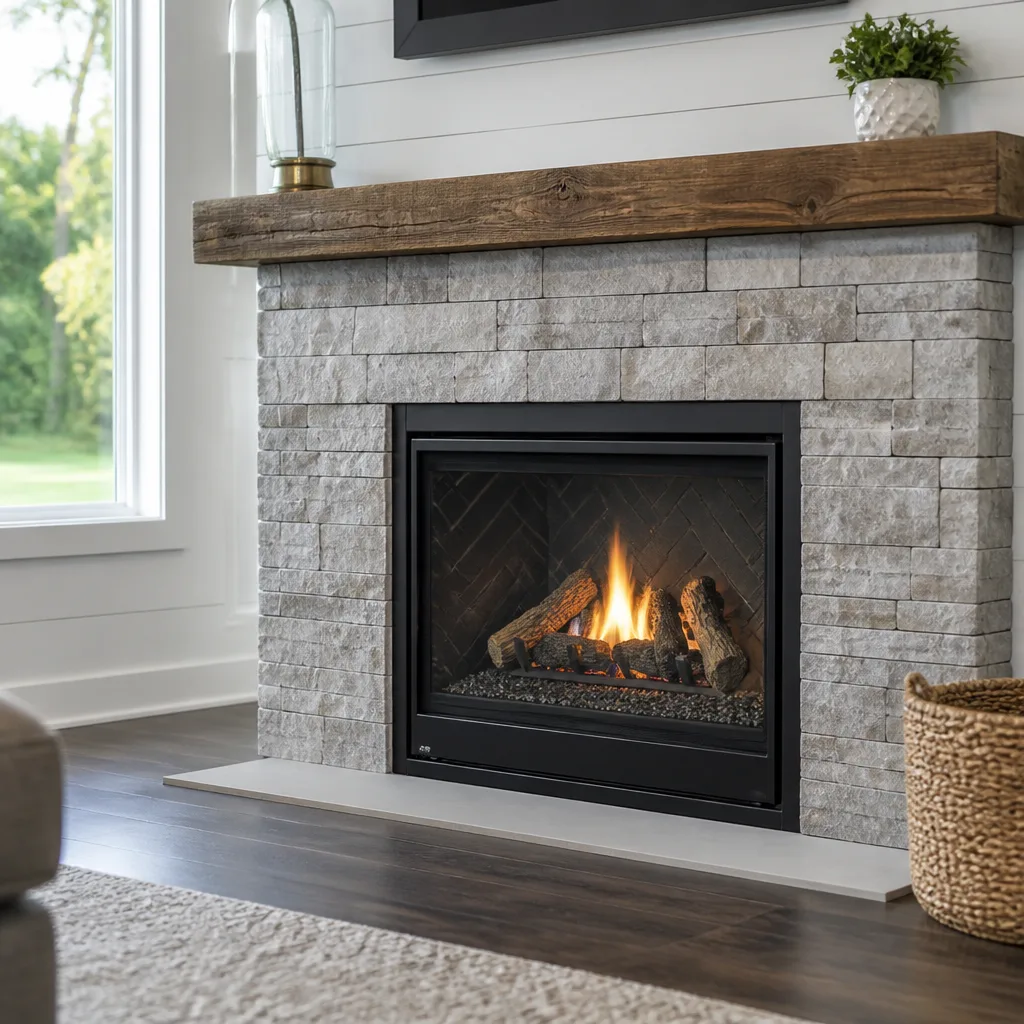 Gas fireplace service
Level 1 sweep and inspection to the NFPA 211 annual standard - flue, crown, cap, and flashing checked and photographed
Chimney sweep logs do not sweep chimneys. They loosen some creosote - which then falls where a brush and vacuum still have to collect it.
DIY vs Professional Chimney Cleaning: The Tyler Homeowner’s Decision Guide
A brush and a set of rods from a big-box store will clean a straight, undamaged flue carrying Stage 1 creosote. What that kit won’t do is tell you whether your liner is cracked, your damper is warped, or the deposit you just knocked loose is Stage 2 glaze sitting on a gap in the tile. The distance between what DIY cleans and what DIY misses is exactly where chimney fires begin. This guide walks Tyler homeowners through the real decision: not whether you can afford a sweep, but whether your specific liner system and your specific creosote stage make brushing safe to do yourself or safer to hand off.
Styles & brands we work with
- Sweep & inspection
- Caps & crowns
- Flue relining
- Masonry repair
- Gas fireplace service
Quick Answer
DIY chimney cleaning is feasible only when you have a straight, undamaged flue, a sound liner, light Stage 1 soot and ash, and a recent professional inspection confirming all of that. In every other case – offset flues, flexible liner systems, cracked clay tile, glazed creosote, or a system that hasn’t been inspected in over a year – professional cleaning is the safer call, because the sweep is also the inspection that catches what a brush can’t.
Table of Contents
- What a DIY Brush Actually Cleans (And What It Doesn’t)
- Which Liner Systems Can Handle DIY Brushing
- What a Real DIY Chimney Cleaning Requires
- The Inspection Gap: What a Sweep Sees That You Can’t
- Reading Creosote: The Degrees That Decide the Job
- A Basic DIY Visual Inspection You Can Do Safely
- The Decision Framework: Go/No-Go Criteria
- Common Mistakes to Avoid
- When to Call a Professional
- Frequently Asked Questions
- The Bottom Line
What a DIY Brush Actually Cleans (And What It Doesn’t)
A chimney brush is a mechanical scraper. It removes loose soot, fly ash, and light Stage 1 creosote from surfaces the bristles can physically reach at the angle the rods can travel. That’s it. It does not diagnose, photograph, or check the structural soundness of anything. In a straight flue with a sound liner, those bristles do a legitimate job – and we’ll say so plainly. Homeowners who brush their own chimney between professional visits aren’t reckless. They’re doing maintenance.
Where it breaks down is everywhere the geometry or the deposit changes. A brush on a flexible rod follows the path of least resistance, which means it can skip the back wall of an offset, ride over a spalled tile joint, or bounce off a warped damper frame. The deposit it leaves behind is the problem. Stage 2 creosote – the shiny, hardened, tar-like glaze – doesn’t yield to bristles. It has to be chemically treated or removed with specialized tooling, and it’s the fuel load that turns a small chimney fire into a structure fire.
What a brush also doesn’t do:
- Check whether a clay tile flue has cracked from previous heat cycling
- Confirm that a flexible liner hasn’t separated at a joint or pulled from its top plate
- Verify that the smoke chamber above the damper isn’t coated in glazed deposit
- Inspect the crown, flashing, or cap for water intrusion that’s already damaging the flue
- Test that the damper opens and seats fully, or that the firebox isn’t cracked
Those checks are the reason a professional chimney sweep is really two services in one visit: cleaning and inspection. When a Tyler homeowner brushes their own flue, they get the cleaning. They don’t get the second half, and the second half is what keeps the chimney safe between cleanings.
Which Liner Systems Can Handle DIY Brushing
The single biggest factor in whether DIY brushing is safe isn’t your comfort on a roof – it’s what’s inside the flue. Different liner types tolerate brushing very differently, and some configurations shouldn’t be brushed by anyone without an inspection first. Here’s how it shakes out.
Configurations where DIY brushing is technically feasible
- Straight, undamaged clay tile flue with no offsets – the classic case. Bristles travel cleanly, and the tile is thick enough to take normal brush contact.
- Straight stainless flexible liner that’s been inspected within the last year – flexible liners are designed for sweeping, but the inspection has to come first to confirm the liner is still seated and undamaged.
- Dedicated flue with no appliance changes or offsets – a straight shot from the firebox to the cap, with the correct brush size for the flue.
Configurations where DIY brushing creates risk
- Offset flues – the flue jogs to one side, and a brush on flexible rods can miss the offset wall entirely or snag and damage tile edges.
- Flexible liner systems with unknown installation history – if you don’t know how the liner was hung or whether it’s clamped, brushing can dislodge a poorly seated section.
- Cracked or spalled clay tile – brushing a failing liner can break loose tile fragments that then block the flue or damage the liner below.
- Any flue with visible glazed creosote – brushing Stage 2 or Stage 3 deposit can ignite it or send chunks down into the smoke chamber.
This is where materials knowledge matters in Tyler. Homes here run the full range, from older masonry fireplaces with original clay tile to newer installs with flexible stainless liners in brands like DuraFlex. The flue you have decides the job you can safely do. If you don’t know which liner you have, that’s the first question to answer – and a professional inspection answers it in one visit.
What a Real DIY Chimney Cleaning Requires
The kit sold online for a home chimney cleaning almost never matches the job. Most of these kits arrive with one undersized brush, flimsy rods, and no drop cloth worth using. A genuine DIY cleaning of a working chimney requires purpose-built tools, and the gap between the kit and the job is where homeowners get frustrated or hurt themselves. Here’s what the job actually calls for.
- A properly sized brush for your flue – the brush has to match the flue’s inside diameter. A brush that’s too small skips walls; one that’s too large jams.
- Rigid or semi-rigid rods long enough for your flue height – flexible drain-style rods bend and skip; chimney rods are built to push a brush up a straight flue.
- Poly bristles for a stainless liner, wire only for heavy clay soot – wire on a flexible liner will scratch and eventually wear through it.
- A sealed drop cloth and a shop vacuum rated for fine soot – a household vacuum will clog and blow soot back into the room within minutes.
- Respiratory protection and eye protection – soot and creosote dust are respiratory irritants; a dust mask and sealed goggles aren’t optional.
- Roof access that’s genuinely safe – a stable ladder, a roof anchor, and the right footwear for a pitched roof. This is where most DIY projects end badly.
- A camera or mirror setup to look up the flue – without seeing the flue after brushing, you don’t actually know what you removed or what’s left.
Priced out honestly, a full DIY kit close to professional-grade runs into real money, and most homeowners use it once. That’s not an argument against DIY – it’s an argument for knowing what you’re buying. The minimum kit is not a chimney cleaning kit. It’s a soot-loosening kit with a false sense of completeness.
The Inspection Gap: What a Sweep Sees That You Can’t
During a professional cleaning, the technician isn’t just brushing. They’re running a camera up the flue, checking the smoke chamber, testing the damper, looking at the crown and cap, and comparing what they see to what the flue is rated to handle. That comparison is where most of the value of a professional sweep lives – and it’s information a homeowner physically can’t gather from the top of a ladder with a flashlight.
What we routinely find that changes the job:
- A hairline crack in a clay tile that looks like a discoloration to the naked eye but reads clearly on camera
- A flexible liner that’s seated correctly at the top but separated from its appliance connector at the bottom
- Glazed creosote hiding behind a damper frame or in the smoke chamber, where a brush can’t reach
- A firebox with a cracked refractory panel that’s letting heat into the surrounding structure
- Flashing that’s failed quietly, letting water into the chimney chase for months with no interior sign
Those findings only matter if the person who finds them can also fix them. That’s the reason we handle inspection, cleaning, and chimney repair with the same team – a technician with repair experience reads a chimney differently than an inspection-only service, because they’ve seen what a cracked tile turns into after another season of use. When something shows up during a sweep, we tell you what we found, what it means, and what it takes to fix it correctly. No handoff, no second company guessing at what the first one saw.
Reading Creosote: The Degrees That Decide the Job
Creosote is the deciding factor in most DIY-versus-professional calls, and it’s the one thing homeowners can actually assess for themselves before calling anyone. The deposit comes in three recognizable stages, and only the first is a brushing job.
- Stage 1 – soot and light flaky deposit. Gray to black, dusty, easy to brush off. This is normal and brushable. DIY cleaning is legitimate here on a sound flue.
- Stage 2 – hardened, glossy, tar-like glaze. Shiny and crusted, resists brushing, often flaking in brittle sheets. This is where DIY stops being a good idea – it needs chemical treatment or specialized removal, and a brush alone will only chip at the edges.
- Stage 3 – thick, glazed, puffy deposit. The deposit has built up into a fuel load that can ignite. This is not a cleaning project – it’s a fire hazard that needs professional removal before the fireplace is used again.
A word on safety here, because it’s the part of this guide we won’t soften: glazed creosote is highly flammable, and attempting to mechanically knock large deposits loose can generate sparks or drop burning material into the smoke chamber. If you see shiny, hardened deposit in your flue, stop and call a technician. That’s the one stage where DIY brushing is genuinely dangerous and not just ineffective.
The variables that push creosote from Stage 1 into Stage 2 or 3 are the same in Tyler as anywhere: burning unseasoned wood, restricting the air supply to slow the fire, and going too long between cleanings. Our winters are mild, which means many Tyler fireplaces get burned hard in short bursts – a pattern that builds deposit faster than a steady, well-managed fire. Burning dry, seasoned wood and giving the fire adequate air keeps the deposit light and keeps a straight-flue DIY sweep feasible.
A Basic DIY Visual Inspection You Can Do Safely
You can absolutely check your own chimney well enough to know whether professional cleaning is urgent or can be scheduled. This is a safe, no-tools, ground-level check – not a roof inspection and not a flue cleaning. Do this from the fireplace opening and from the outside of the house, never by climbing onto a roof.
- Look up the firebox with a flashlight. Check the firebox walls and the damper for cracks, heavy soot, or glazed deposit. If you can see shiny black crust, that’s your stop signal for DIY.
- Open the damper and check its movement. A damper that sticks, doesn’t seat flat, or looks warped means the chimney needs professional attention before the next fire.
- Reach up into the smoke chamber with a mirror and flashlight. Look for heavy, glazed buildup just above the damper – the zone most brushes never touch.
- Check the firebox floor and the ash pit for tile fragments. Loose tile pieces mean the liner has failed somewhere above and needs professional evaluation.
- From the ground outside, look at the chimney top. Check the cap, the crown, and the flashing for obvious damage or water staining. Don’t get on the roof for this.
- Note the color and texture of what you can see. Gray flaky soot is Stage 1. Shiny black glaze is Stage 2. Puffy, thick crust is Stage 3.
- Write down the date of your last professional inspection. If it’s been more than a year, that alone is your reason to schedule a sweep.
What you can’t assess from the firebox is the inside of the flue above the smoke chamber – and that’s the majority of the flue surface. Use this check to decide whether you’re comfortable doing a brush cleaning yourself, not as a substitute for the professional inspection that sees the whole flue.
The Decision Framework: Go/No-Go Criteria
Piecing it all together, the go/no-go decision on DIY brushing comes down to four things: your liner type, the creosote stage, when the last professional inspection happened, and the physical configuration of the flue. Here’s the framework laid out as a checklist.
DIY brushing is reasonable when all of the following are true:
- Your flue is straight with no offsets
- Your liner is sound and confirmed so by a professional inspection within the last year
- The deposit is Stage 1 – gray, flaky, and not glazed
- You have the correct brush size for your flue and the right rod type
- You have safe roof access and a spotter
Call a professional when any of the following is true:
- The flue has any offset or jog
- Your liner type is unknown, or it’s a flexible liner you haven’t had inspected
- You see glazed, shiny, or flaking Stage 2 or Stage 3 creosote
- It’s been more than a year since a professional inspection
- Your clay tile is cracked, spalled, or has loose pieces in the firebox
- The damper is warped, stuck, or doesn’t seat
- You have any doubt about your roof access
The simplest way to apply this framework in Tyler is to start with the inspection, not the brush. A professional sweep gives you the answer to the liner question and the creosote-stage question in one visit. From there, you can decide whether to brush between professional cleanings or hand the whole job off – and you’ll be deciding on facts instead of a guess. When repairs do come up, we specify professional-trade materials like a DuraFlex flexible liner for replacements or the HeatShield resurfacing system for a liner that can be repaired rather than replaced. The right materials for the job, chosen from what the flue actually needs.
Common Mistakes to Avoid
- Buying a kit with one brush size and assuming it fits. A brush that’s undersized for your flue just polishes the walls and misses the deposit on the sides. Match the brush to the flue’s inside diameter, and if you don’t know the diameter, measure it at the damper.
- Brushing a flue with glazed creosote. Mechanical brushing of Stage 2 or Stage 3 deposit can spark a fire or drop burning chunks into the smoke chamber. If the deposit is shiny, stop and call a pro.
- Skipping the roof-access plan. Ladders on a pitched Tyler roof without a stable base and a spotter is the single most common way a DIY cleaning ends in a hospital visit. If the access isn’t safe, the job isn’t safe.
- Using a household vacuum for soot. A standard shop vacuum and a home vacuum will clog on fine soot within minutes and blow it back into the room. You need a vacuum rated for fine ash, and a sealed drop cloth to contain the rest.
- Cleaning above a damaged liner. If the tile is cracked or the liner is separated, brushing can make the failure worse. Confirm the liner is sound first – this is the inspection the homeowner can’t do alone.
- Treating the brush as an inspection. Cleaning and inspecting are different jobs. A clean flue can still have a cracked damper, a failed crown, or a separation at the appliance connector. The brush will never find those.
- Going more than a year between any inspections. A year is the practical floor for catching early liner and creosote problems before they get expensive. Mark it on the calendar the day you have your sweep done.
When to Call a Professional
Call a professional chimney sweep when any of the no-go criteria above apply, when it’s been more than a year since your last inspection, or when you see or smell anything that makes you unsure. Also call if your fireplace has been used heavily and you can’t remember the last sweep, if the damper sticks, if there’s a smell of creosote or smoke in the room when the fire isn’t burning, or if you’re simply not comfortable on the roof. None of those are reasons to feel bad – they’re the normal reason people schedule a sweep. Chimney Sweep Tyler offers free estimates in Tyler – call (866) 389-3453. We answer 24/7, and fast dispatch from 7am to 7pm, Sunday through Friday. A sweep gives you the liner answer, the creosote-stage answer, and a camera report of what’s actually in the flue.
Frequently Asked Questions
Yes, if your flue is straight and undamaged, your liner is sound and recently inspected, and the deposit is light Stage 1 soot. In every other case – offset flues, unknown or flexible liners, cracked tile, or glazed creosote – professional cleaning is the safer choice, because the sweep is also the inspection the brush can’t replace. Call (866) 389-3453 for a free estimate if you’re not sure which category your flue falls into.
Look at the color and texture. Gray, flaky, dusty deposit is Stage 1 and brushable. Shiny, hardened, tar-like crust is Stage 2 and needs professional treatment. Thick, puffy, glazed buildup is Stage 3 and is a fire hazard – don’t brush it and don’t light the fireplace until a professional removes it. Call (866) 389-3453 to schedule a cleaning and get an exact assessment.
A correctly sized chimney brush, rigid or semi-rigid chimney rods long enough for your flue, poly bristles for a stainless liner, a sealed drop cloth, a shop vacuum rated for fine soot, a dust mask, eye protection, and safe roof access. That’s the real kit. A one-brush online kit usually falls short on brush sizing, rod length, and soot containment. If you’d rather not buy the full setup, call (866) 389-3453 for a free estimate.
For a working fireplace, schedule a professional inspection and sweep at least once a year. If you burn heavily or burn unseasoned wood, you may need it more often. The inspection is the part that catches liner damage and creosote buildup before they become a repair. Call (866) 389-3453 to book a sweep and keep the inspection current.
Yes, if you use a wire brush or an undersized brush, or if the liner isn’t properly seated. Flexible liners are designed to be swept, but only with poly bristles and only after an inspection confirms the liner is sound. If your liner type is unknown, call (866) 389-3453 for a free estimate before you brush it.
You lose the ability to catch liner cracks, warped dampers, failed flashing, and glazed creosote while they’re still cheap to fix – and glazed creosote is a real fire hazard that builds quietly. In our experience, chimneys that go years without an inspection arrive with more repairs than ones kept on an annual schedule. Call (866) 389-3453 for a free estimate and get back on a schedule.
The Bottom Line
DIY chimney cleaning isn’t reckless – it’s just conditional. A brush and rods will do a real job on a straight, undamaged flue with Stage 1 soot, and plenty of Tyler homeowners do exactly that between professional visits. What DIY can’t do is tell you whether your liner is sound, whether the deposit you’re brushing is the dangerous glazed kind, or whether the damage above the smoke chamber is already there. So start with the inspection, get the liner answer and the creosote answer, then decide. If the answer comes back clean and straight, your brush is fine. If it doesn’t, a professional sweep is cheaper than a chimney fire. In Tyler, our technicians have up to 11 years of experience – call (866) 389-3453 for a free estimate and a plain answer about which side of the line your flue is on.
For a closer look at how our three core services fit together across Tyler, start with the sweep and let the inspection tell you what’s next. If you want to see what a full professional sweep involves before you decide, our Chimney Sweep Tyler page walks through the process, and we’re glad to answer questions before you book.
Written by the team at Chimney Sweep Tyler.
See the difference
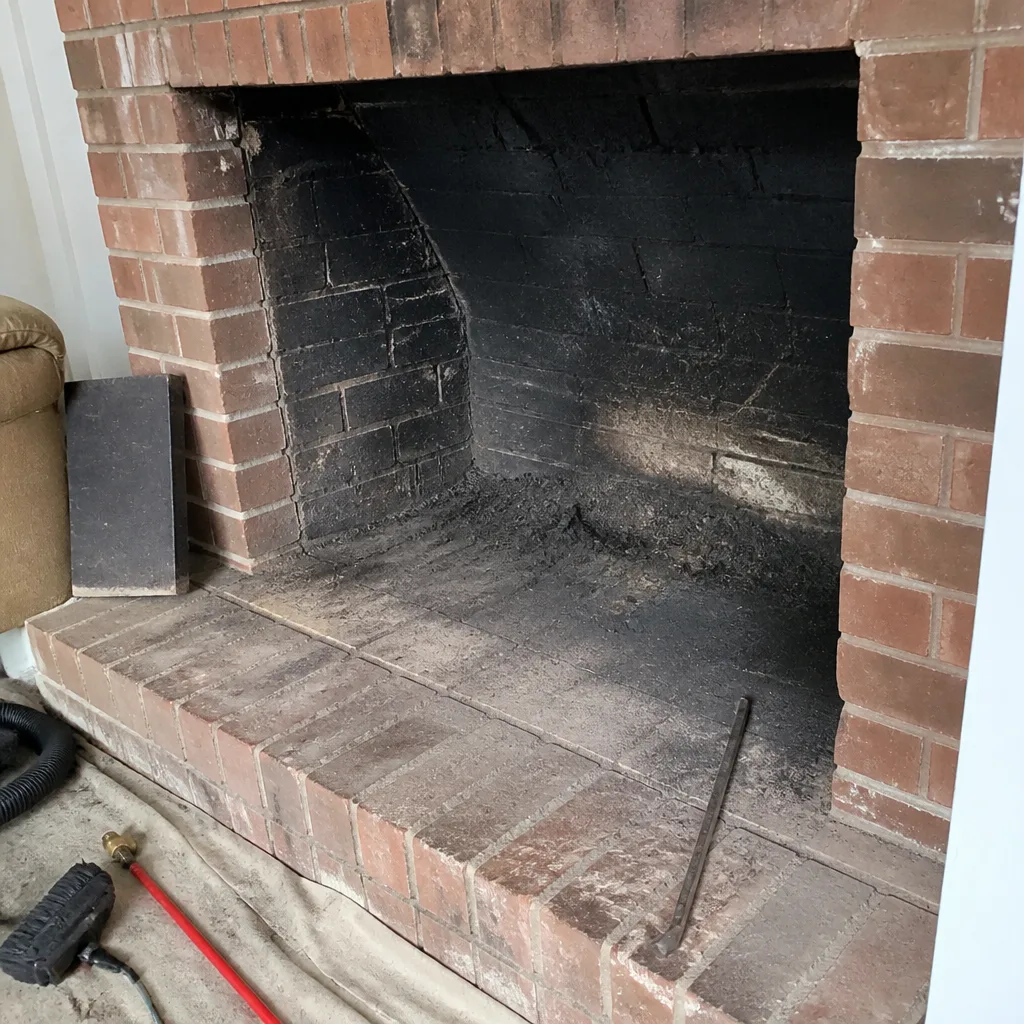 Before
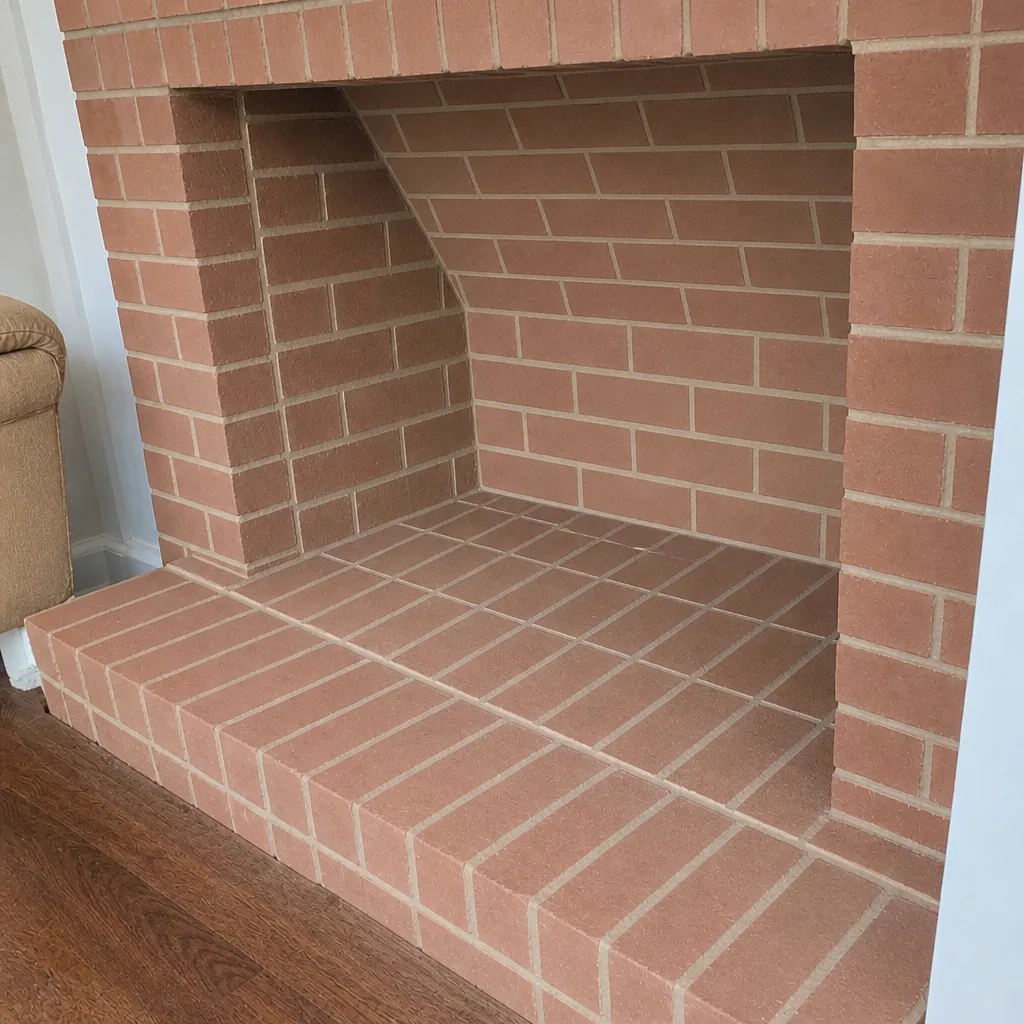 After
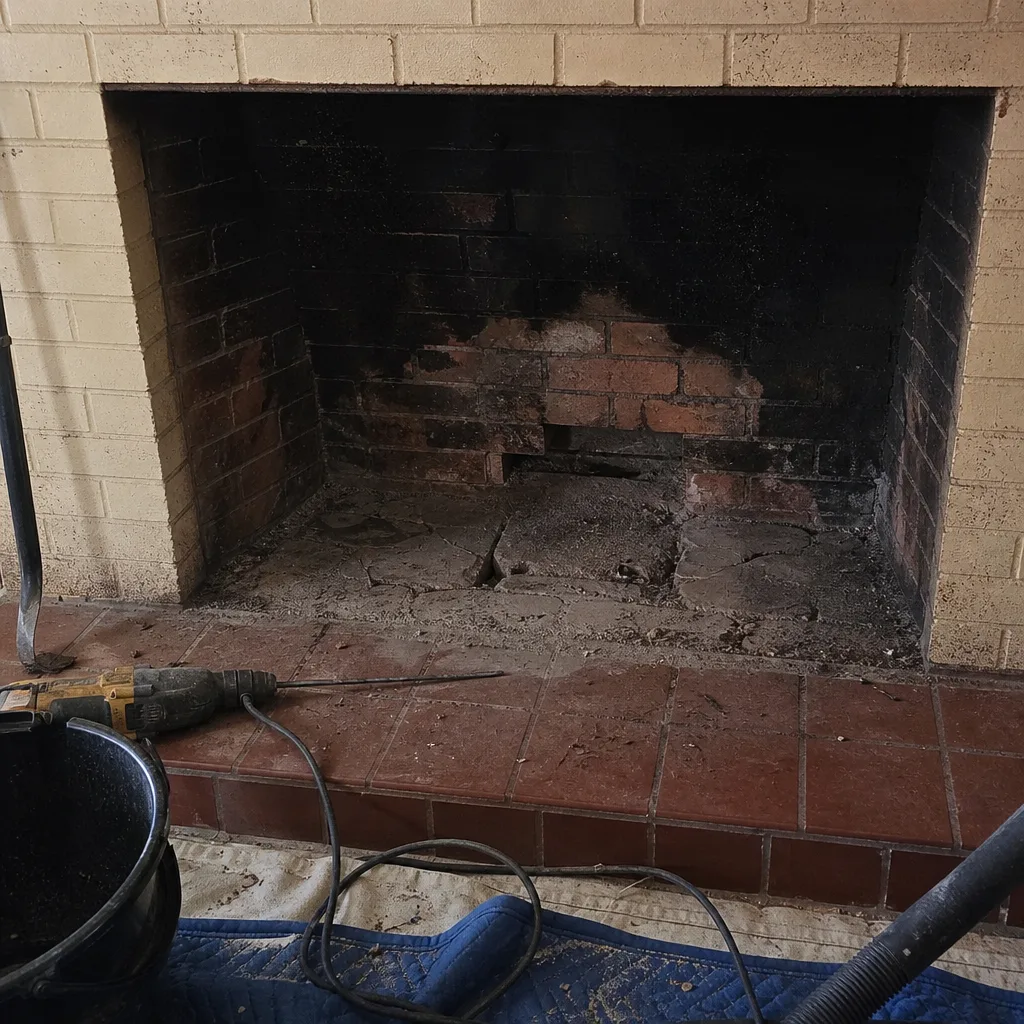 Before
 After
 Before
 After